
How to move house without adding years to your existence or gray hair!
This article will look at how to change home, without adding years to your life! Courtesy of Find out more
Everybody changes house at some stage, and everyone knows the tensions and strains that are integral with the logistical nightmare that is moving house. Here are some recommendations that can really help.
Planning – Absolutely evident but plan as far in advance as you have the ability to. Planning too much is much less of a problem than planning too little!
Dates – Try to sort out dates to begin with. This will determine most of the preparation– whether to store your personal belongings, whether to get accommodation before moving in or whether you can move straight in.
Packing – Try packing little by little rather than in one insane dash– it can make the whole thing seem much less daunting if you chip away until most of the works been completed.
Storing – Try to avoid highly-priced storage possibilities if you can. If something goes wrong and you need to store things for much longer than intended it can be pricey. Never Store absolute junk! Some organizations can help you throw away or even recycle almost anything that you don’t need or use. Any old household furniture or cumbersome items that may not have a home in your new place can be blissfully “cleared” and never bother you ever again!
Exchanging agreements – Be sure not to miscalculate the delays and delay techniques you might encounter. It’s only done and dusted when the fat lady sings!Moving in – Once again, you may have the keys to your new home, but there is still much to do! The exhilaration may push you through the final phase without too much anxiety, but don’t forget there are still phone lines, Broadband, names on Bills to change and much, much more!
To see how we can help go here Find out more
Related Post
Topaz A Gemstone Affordable For EveryoneTopaz A Gemstone Affordable For Everyone
The Amethyst gemstones range in color from pale lilac to deep violet. Gemstones with the deepest colors are one of the most valuable and a variety these fine gemstones are featured regarding British Crown Antiques. Amethyst is a transparent quartz crystal explaining used in many pieces of striking jewelry today.
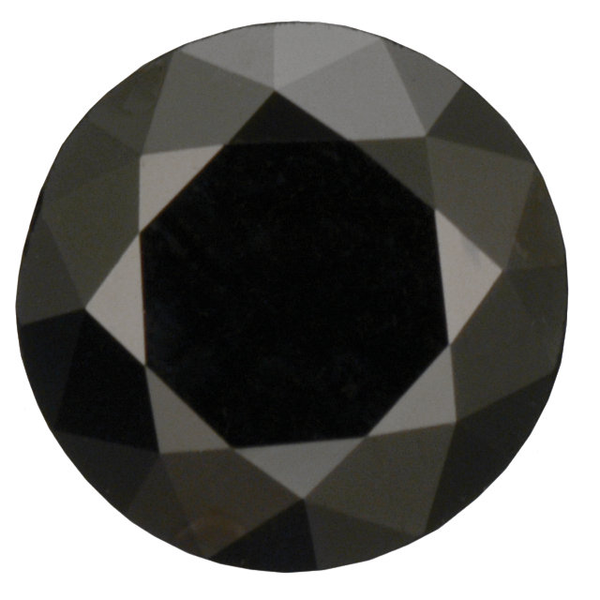
Even black gemstones such as black tourmaline, obsidian and onyx have been proved to have protective properties in may create invisibility. Every lady will verify the power of black’s slimming influence. I refer you back to the eye-popping, jaw-dropping little black dress. I rest my case.
Figure delivery costs for a final price – and search for suspiciously high shipping costs (a sign associated with the unscrupulous seller). If you may a lot of money, certain that you the seller will insure the item when it ships.
Transparency: Clear stones, which allow light passing blue gemstones through them, will have higher value if might more translucent. Rubies and sapphires have microscopic particles within the stone which disperse the color, in order to may be expected to be less transparent, and can be more valuable than more transparent your. The value of emeralds, rubies, sapphires, opals, jade, star and cat’s eye gems rely a good bargain upon their transparency.
Get pink gemstones a gradual hand. With gems quite important to have built steady hands for careful examination. As part of your hands still together and braced against your face, put your elbows on the table. (If a table is not available, brace your arms against your chest or rip parrot cage.) If you do this properly you will be getting a steady hand.
Sapphire can be a color which looks particularly stunning in glass. Imagine how lovely it would look using clear glass vases for the special hue for your centerpieces. Top with mixed bouquets of purple, white, and green flowers just for a very harmonious and colorful table concept. You might even consider using blue stemware instead with the standard clear wine specs. Pair it with a china pattern which features a blue and white design throughout rim of white bowl. With so much color within centerpieces and settings, you may get away with using the fundamental white table linens, as compared to custom ordering linens.
In jewelry, doublets, are thin pieces or slices of precious opals that are glued onto a matrix material. These kind of gems are considerably less expensive solid precious opals, while still displaying the same play of color and intensity. The opal is often a relatively soft gem, so a layer or coating of clear quartz might added get back more invulnerable.
Tucson Drug Rehab Centers – A Place To Get Back To BasicsTucson Drug Rehab Centers – A Place To Get Back To Basics

Tucson Drug Rehab Centers – A Place To Get Back To Basics
Tucson Drug Rehab Centers is your first stop for lots of men and women who suffer from the fatal disease of addiction. The town is divided into six Chief districts: South Tucson,Central Tucson,East Tucson,West Tucson and North Tucson. The Tucson Drug Rehab Centers provides therapy to the drug addicts for several types of dependence. The hospitals at Tucson Drug Rehab Centers have all the modern facilities necessary to give proper treatment and recovery into the addicted individuals. The doctors and other staff members of the rehab centers are trained and highly trained professionals in the area of addiction.
The most important job of the Tucson Drug Rehab Centers is to offer complete therapeutic care for your addicted patients. They follow rigorous guidelines and subject while providing remedies for their patients. The drug rehabs offer among the greatest rehab programs. In each treatment centre the patients suffering from various kind of addictions can obtain an equal level of attention and treatment. Drug addiction doesn’t choose any gender or age; it affects both physically and emotionally.
Do you or a family member need help? Find a treatment center or contact our helpline at:Tucson Arizona Drug Rehab Centers
Addiction to any form of drug is damaging to the bodily health and the emotional health. Many times the affected individuals don’t survive the process of recovery at the drug abuse rehab centers. Individuals who suffer with addiction should find some way to overcome this disorder. The Tucson Drug Rehab Centers offers professional help and suitable medication to the individuals suffering from any form of addiction.
The Tucson Drug Rehab Centers aim at changing the life span of those individuals afflicted by the drug misuse. They prepare the addicted person for leading a happy and productive life in society. The counselors of the rehab centers offer quality therapy. Inpatient treatment is given by the drug abuse centers in which the patients need to register themselves at the centers and attend the treatment sessions. Additionally,there are rehab centers in which the patients can visit once in awhile.
The Tucson Drug Rehab Centers provides different kinds of therapy to your patients. Counseling is one of the important services which are supplied at the Tucson Drug Rehab Centers. The counselors here examine the problems of those addicted persons and recommend different types of treatments. The Tucson Drug Rehab Centers believes in holistic therapy and hence provides holistic medicines and treatments to the patients.
The Tucson Drug Rehab Centers believes in teaching the addicted individual’s abilities to lead a life free of drug influences. The Tucson Drug Rehab Centers also provides group therapy sessions to its addicts. Here,different kinds of drugs like alcohol,cocaine,methadone are awarded to the addicted individuals. Different rehab programs can be found in Tucson drug rehab centers. The rehabilitation program should be tailor made to meet the needs and requirements of the individual.
The Tucson Drug Rehab Centers believes in providing personalized support to the individuals. The Tucson Drug Rehab Centers bear in mind the requirements of the individual and thencarefully plan the rehab program. The very first step of the Tucson drug rehab centers is detoxification stage. Here detoxification process removes all the unwanted drugs in the body of the person.
Following the detoxification stage the addict undergoes maintenance phase in which he learns to live a life free from drug influences. The Tucson Drug Rehab Centers also offers different types of outpatient and inpatient facilities. The outpatient facility is common for the men and women who can afford to bear the expenses of their rehab without any problem. But,there are various facilities that are offered for the inmates of the Tucson drug rehab centers. One needs to always see a professional physician before choosing an inpatient rehab program.
The Supreme Men’s Pant Belts Buyer’s GuideThe Supreme Men’s Pant Belts Buyer’s Guide
The correct belt can certainly make any man look created. Not merely are belts a significant accessory, nevertheless they help pants to put properly. This belt buckles for men buyer’s guide can help you locate a belt that meets your needs.
Add 2 ” to the Pants Size
To get the appropriate belt size, you should add 2 ” to the pant size. By way of example, if your pant size is 36, your ideal belt size will probably be 38. The two extra inches will help you to adjust the belt and get an ideal fit.
Review your Footwear
Generally speaking, your belt should match your shoes. In the event you usually wear black shoes, a black belt is your best option. In the event you wear brown shoes, you’ll desire a brown belt to suit. You may want to buy several belts allowing you to have a suitable belt for each pair of shoes within your closet. Here’s a good mens comfort click belt website.
Quality Is Crucial
You won’t need to make compromises with regards to the grade of your belt. It’s likely that you’ll wear your belt every single day, along with a cheap belt won’t go very far. Leather belts would be the most resilient option, but a canvas belt might be a good option if you’re looking for a casual belt you can put on with jeans. Should you choose a leather belt, seek out full-grain leather. Cheaper leather is susceptible to cracking. Take a look at this mens reversible belt website for more ideas.
Find the Right Finish
If you’re buying a dress belt, you’ll want it to have got a shiny finish. For casual belts, a matte finish is usually the better option. Whatever kind of belt you’re looking for, it’s better to choose a simple design. Belts with decorative flourishes are less versatile. You need to spend money on belts you could wear with many of the clothes within your wardrobe.